Retaining Wall Rebuild by Robert Musser

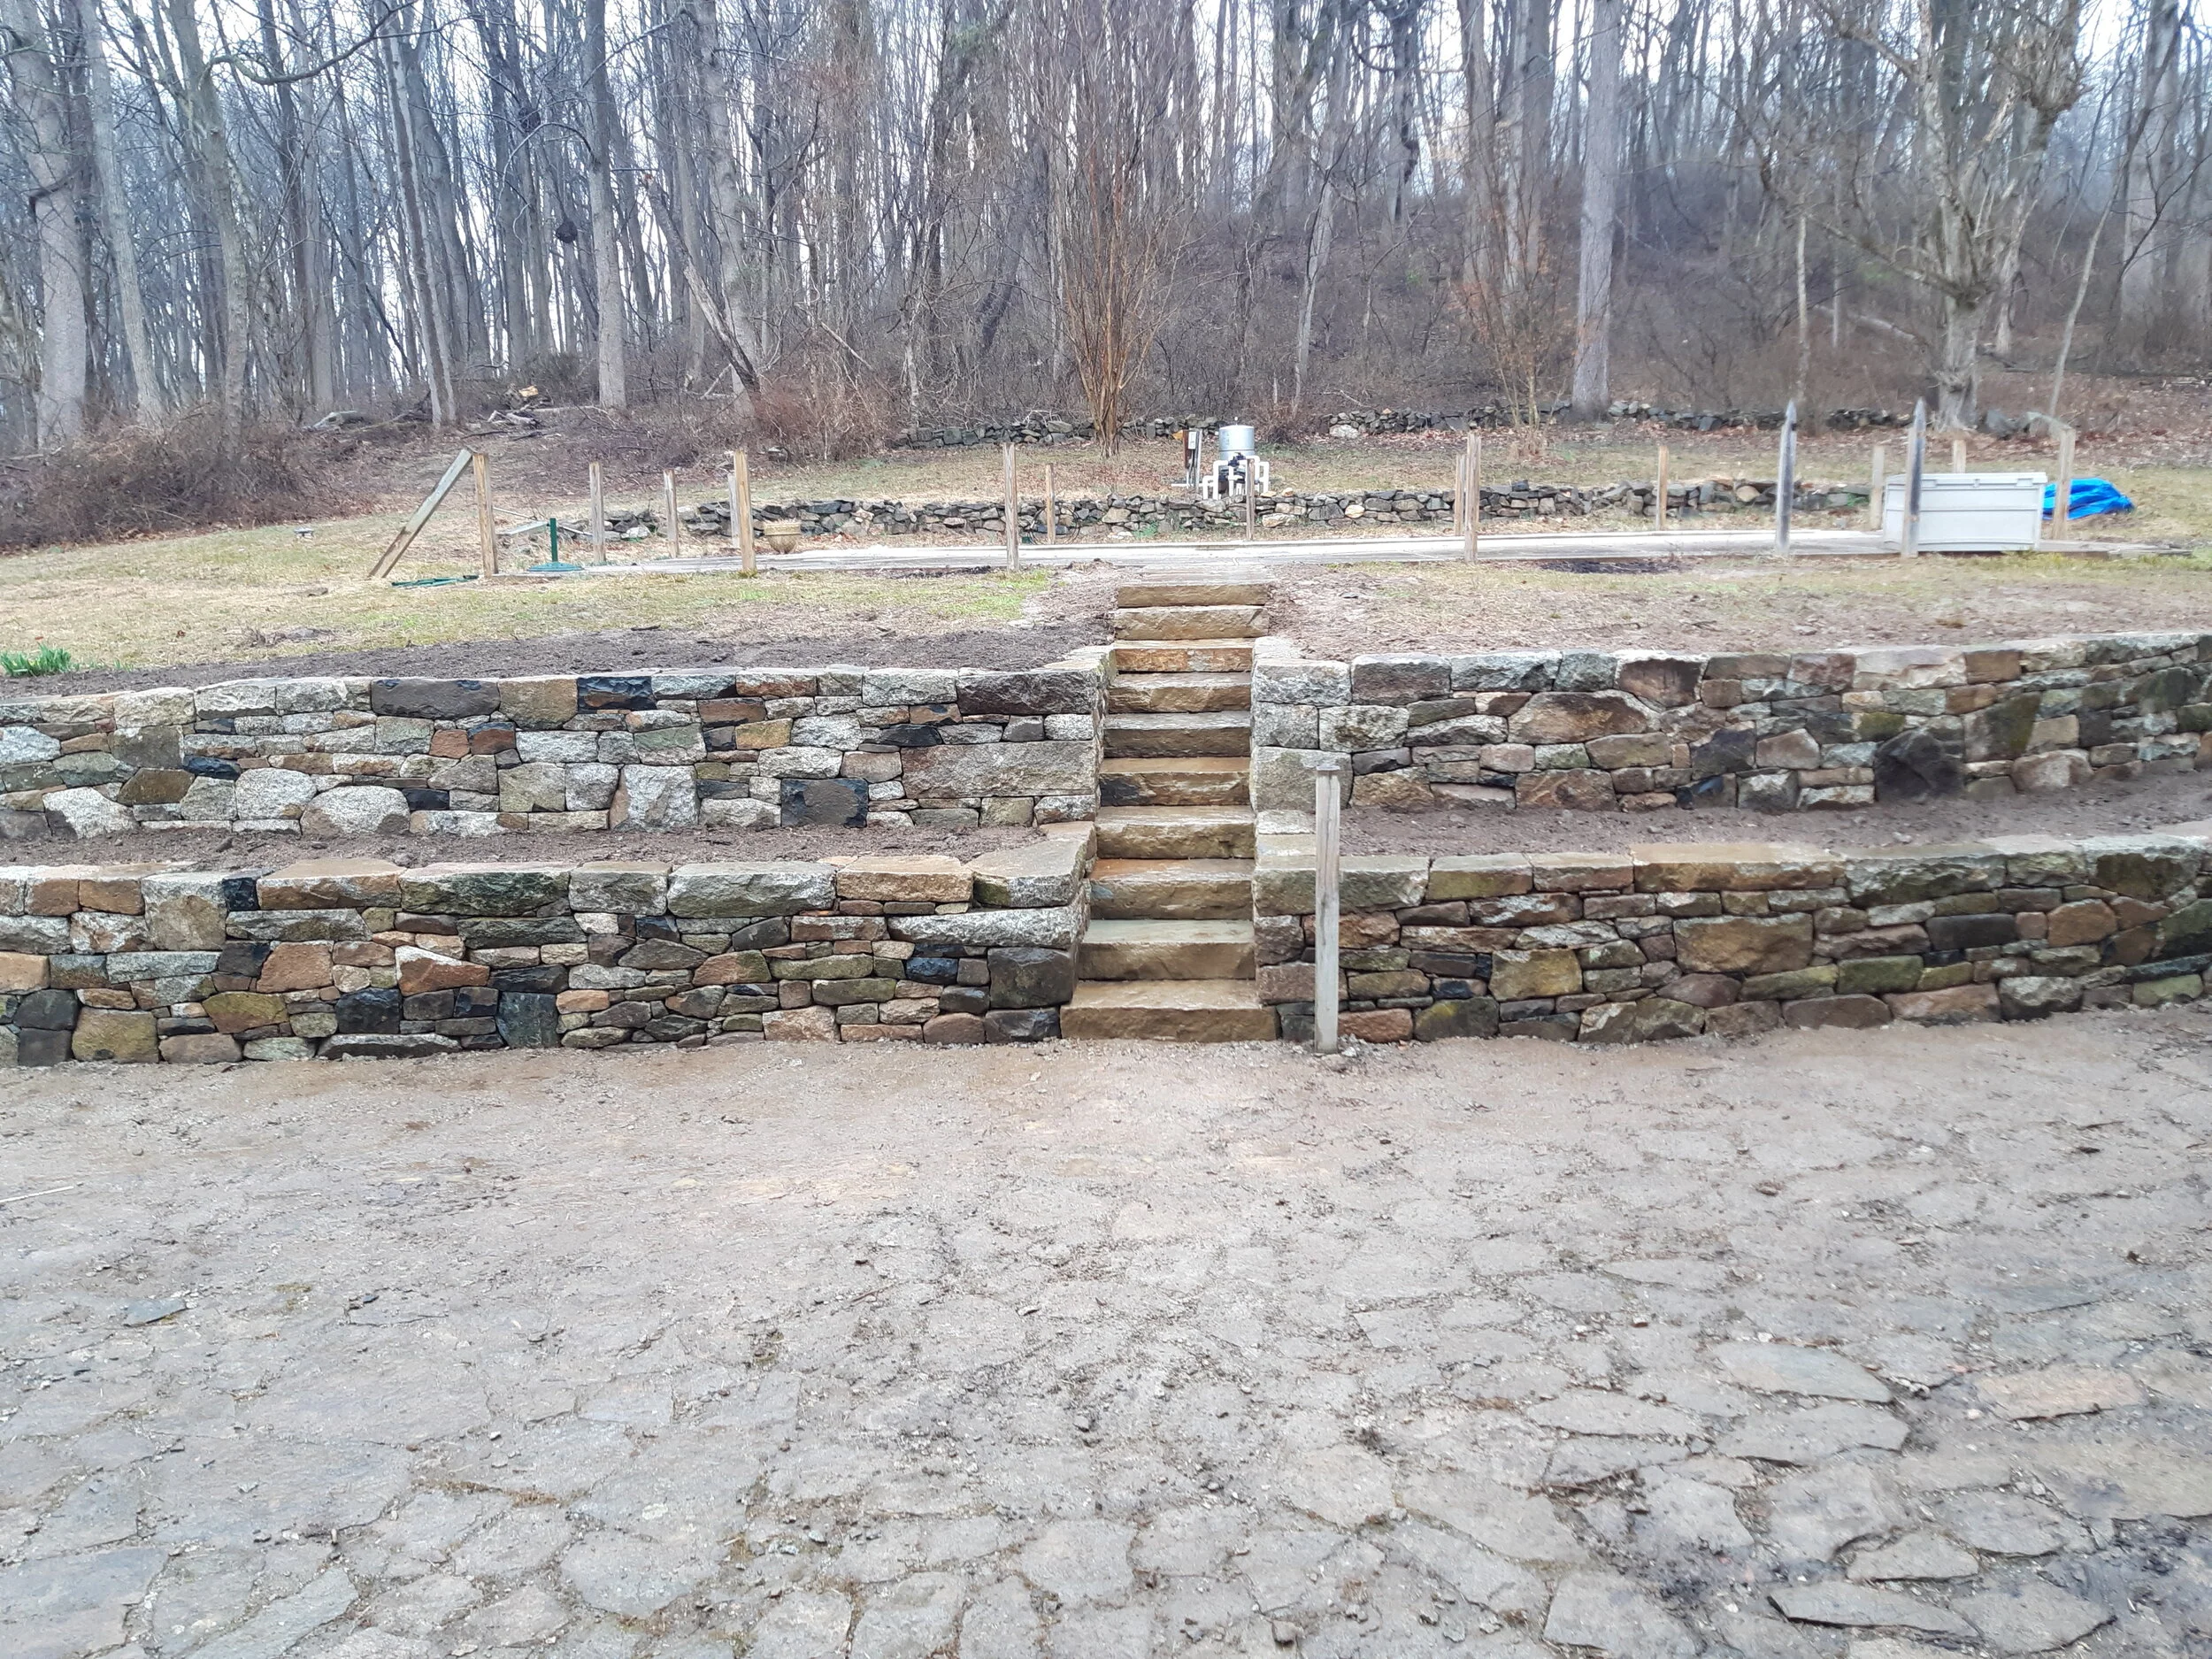
Our customer approached us about rebuilding some dilapidated sections of his walls and fixing up the set of steps to make them safer and more approachable for his aging mother. Shortly after we started, he was so happy with the transformation that asked us to rebuild the whole wall. Using the stone from the old wall and other stone already on the property, we removed the old walls, dug and installed a clean stone base and rebuilt in a dry stack style.

Length of the old wall

20191212_083558.jpg

Length of the old wall

20191212_083602.jpg

Old steps

20191212_083551.jpg

Old wall partially deconstructed, old steps removed, new base and heavy tread steps set and beginning to rebuild the corners.

20200114_091156.jpg

Rebuilding the cheek walls and wall length

20200115_162808.jpg

Running in a length of the new wall. Solid stone, held together with mortar but kept back from the face of the wall to achieve the dry stack look. Working under a heated tent to keep going in the cold temperatures.

20200122_085450.jpg

Length of the new wall

20200123_162803.jpg

Tight fit, dry stacked style.

20200123_162902.jpg

Lower wall rebuilt. Preparation for the upper wall underway.

20200127_133356.jpg

Rebuilding the upper wall

20200203_162551.jpg

Rebuilding

20200207_103040.jpg

Rebuilding part of this old silo foundation

20200210_152527.jpg

Finished

20200225_121719.jpg

New Steps

20200225_121746.jpg

Finished

20200225_121504.jpg
20200225_122014.jpg

Plants in full bloom

20200903_074329.jpg
20200903_074354.jpg

Repointing in Palmyra by Robert Musser

Our customer was interested in exposing the stone on his old limestone farmhouse

First we had to chip off all the old plaster and mortar joints. 

First we had to chip off all the old plaster and mortar joints.


Once we had the joints out, we used a leaf blower to clean all the dust out of the joints and pressure washed the walls to clean the old plaster residue off the faces of the stone.  

Once we had the joints out, we used a leaf blower to clean all the dust out of the joints and pressure washed the walls to clean the old plaster residue off the faces of the stone.


Now it is time to start putting the new mortar joints in.  Using a grout bag we fill all the empty joints with the new mortar.  After it has set a while, we go back and tool the joints into the crown joint shape that the customer chose. &n…

Now it is time to start putting the new mortar joints in.  Using a grout bag we fill all the empty joints with the new mortar.  After it has set a while, we go back and tool the joints into the crown joint shape that the customer chose.  


After all the new joints are in, we let it sit a few days to give the new mortar joints time to cure. Lastly, we acid wash the whole wall to clean up the edges of the new joints and any old mortar residue that may still be on the faces of the stone.…

After all the new joints are in, we let it sit a few days to give the new mortar joints time to cure. Lastly, we acid wash the whole wall to clean up the edges of the new joints and any old mortar residue that may still be on the faces of the stone.


Finished product wall detail of the crown joint

Finished product wall detail of the crown joint